first learning how to Install SSD CompTIA A+ is one of the most essential skills for any IT professional. Whether you’re preparing for the CompTIA A+ exam, building a new PC, or replacing a failing hard drive, this guide will show you step by step how to install an SSD quickly and safely. Mastering this skill boosts your PC speed, avoids costly mistakes, and builds confidence for your CompTIA A+ certification.
Your ad will appear here once approved.
Furthermore, knowing how to properly handle and install drives helps avoid costly mistakes and data loss, making you more confident as an IT technician or a savvy PC enthusiast.
Choosing the Right Drive to Install SSD CompTIA A+
Before getting hands-on, it’s crucial to know what you’re installing and why.
What is a Hard Disk Drive (HDD)?
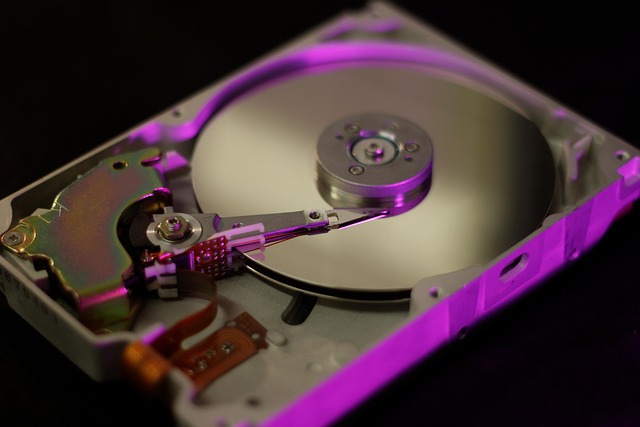
- Uses spinning magnetic platters to store data.
- Available in larger capacities at lower cost.
- Typically runs at 5,400 to 7,200 RPM.
- However, slower data access and more susceptible to physical damage.
Best For: Large storage of files like photos, videos, backups — when budget is tight.
What is a Solid-State Drive (SSD)?
- Contains no moving parts — uses flash memory chips.
- Delivers lightning-fast read and write speeds.
- Drastically reduces boot times and program loading.
- More durable and energy-efficient than HDDs.
However, SSDs cost more per gigabyte, although prices have dropped significantly.
Best For: Operating systems, frequently-used applications, and gaming — where speed matters.
Choosing the Right Drive to Install SSD CompTIA A+
Although both HDDs and SSDs store your data, their differences affect your decisions:
- Performance: SSDs can be 5–10 times faster than HDDs.
- Cost per GB: HDDs are cheaper but slower.
- Noise & Heat: SSDs are silent and run cooler.
- Lifespan: SSDs often outlast HDDs in typical use cases.
“For a smoother upgrade experience, check out our RAM installation tutorial. And if you’re shopping for SSDs, the Samsung 870 EVO on Amazon is a fast, reliable choice I personally recommend.”
Pro Tip: Many pros build hybrid setups: a smaller SSD for Windows and apps, plus a large HDD for media storage.
🛠️ Tools You’ll Need for Drive Installation
To install drives safely and professionally, gather:
1 A small Phillips screwdriver.
2 Anti-static wrist strap to avoid static discharge.
3 SATA cables (if not included with your motherboard).
4 Mounting brackets for 2.5″ SSDs if your case requires them.
5 Your PC case’s manual or your laptop service manual.
In addition, always backup your data before changing or replacing drives.
How to Install SSD CompTIA A+ – Step-by-Step Guide
Therefore follow these steps for a successful HDD installation:
- Power Down and Unplug
- Always disconnect the power to avoid damage.
- Open Your PC Case
- Remove side panels to access internal bays.
- Find a 3.5” Drive Bay
- Most desktop cases include several bays for HDDs.
- Mount the Drive
- Slide the HDD into the bay and secure it with screws or a tool-less bracket.
- Connect SATA Data Cable
- One end goes to the drive, the other to your motherboard.
- Connect Power Cable
- From your power supply unit (PSU).
- Reassemble Your Case and Boot Up
- Check BIOS/UEFI for drive detection.
Important: however modern motherboards usually auto-detect new drives. However, older boards might require manual settings in BIOS.
Key Exam Points for Install SSD CompTIA A+
SSDs come in different form factors:
- 2.5” SATA SSD → looks like a slim laptop drive.
- M.2 NVMe SSD → a slim, stick-like module.
Installing a 2.5” SATA SSD
- Locate a 2.5” Bay or Bracket
- Check your case for dedicated SSD slots.
- Mount the Drive
- Secure it with screws or clip it into the tray.
- Connect SATA Data Cable
- Connect the SSD to the motherboard.
- Attach Power Cable
- From the power supply.
- Reassemble and Boot
- Enter BIOS/UEFI to confirm the drive is recognized.
Installing an M.2 NVMe SSD
- Find the M.2 Slot
- It’s a horizontal slot on the motherboard.
- Insert the Drive
- Slide it in at a slight angle.
- Secure with Screw
- Press it down gently and screw it into place.
- Boot and Check BIOS
- Ensure the new drive appears under storage devices.
Note: Some M.2 drives run on SATA, others on NVMe. Always confirm your motherboard supports the drive you’re installing.
💻 Post-Installation Steps
Once your new drive is installed:
1 Boot into BIOS/UEFI to ensure it’s detected.
2 Format the new drive in Windows Disk Management.
3 Assign a drive letter if needed.
4 If it’s your primary drive, reinstall your operating system.
5 Restore backups if replacing an old drive.
Furthermore, keep firmware updated for both HDDs and SSDs to ensure stability and performance.
Why Upgrade Before You Install SSD CompTIA A+?
Installing an SSD delivers huge benefits:
- Boots Windows in seconds instead of minutes.
- Launches apps instantly.
- Improves file transfer speeds dramatically.
- Reduces power consumption.
- Extends your system’s usable life.
Consequently, even older PCs feel like brand-new machines with an SSD upgrade.
→ Check out our guide on installing RAM for CompTIA A+.
http://“For other essential hardware upgrades, check out our CompTIA A+ guide to installing RAM.”
http://“For additional details on drive compatibility, check out Crucial’s Memory Advisor Tool.”
💡 Common CompTIA A+ Exam Points
additionally If you’re studying for CompTIA A+:
- Know drive form factors: 3.5” for HDDs, 2.5” for SSDs.
- Understand interfaces: SATA vs NVMe.
- Recognize the benefits of SSDs over HDDs.
- Learn how to format and partition drives.
📝 Conclusion: Master Your Storage Installations
In conclusion, knowing how to install hard drives and SSDs is critical for IT professionals and PC enthusiasts alike. Not only does it prepare you for the CompTIA A+ certification exam, but it also saves you time and money when maintaining or upgrading systems.
Finally Ready to boost your PC’s performance? Explore your options, and don’t be afraid to tackle your own upgrades. Your future IT career — and your computer — will thank you!